Testing a Boost Gauge
Author: Autobox

There are many reasons why you would want to test a Boost Gauge.
- You have just purchased one and are eager to see how it works
- You are having problems with a gauge and are trying to do some fault determination
- You have got an old gauge and want to see if it goes before installing it
Boost gauges are very easy to test. Whether it is a mechanical or electronic gauge, it does not matter.
Step 1.
Connect the gauge to a 12-volt power source, away from the vehicle. We say away from the vehicle as this isolates it just to the gauge being tested in the first instance, and removes outside factors like wiring issues. Tip: Many battery chargers have a Power Source function, that you can use to get a constant 12 volts.
Step 2.
If you have an electronic Boost Gauge you will also need to connect the Boost Sender to the same 12-volt power source, and connect the sender wire to the gauge.
Step 3.
Connect the boost gauge hose to the gauge, and using a bicycle pump add some air to the tube slowly. The gauge should rise.
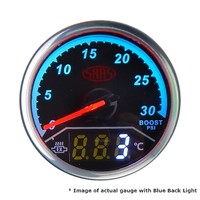
Many Boost Gauges only go to 20 or 30 PSI, so be careful on how much air you push into the gauge. In other words – go slow on the bike pump.
Tip: Using the ball inflation tip on the bike makes getting air into the boost tube easier.